Technical
UV printing on a Switch 2 cover: how your cover is made
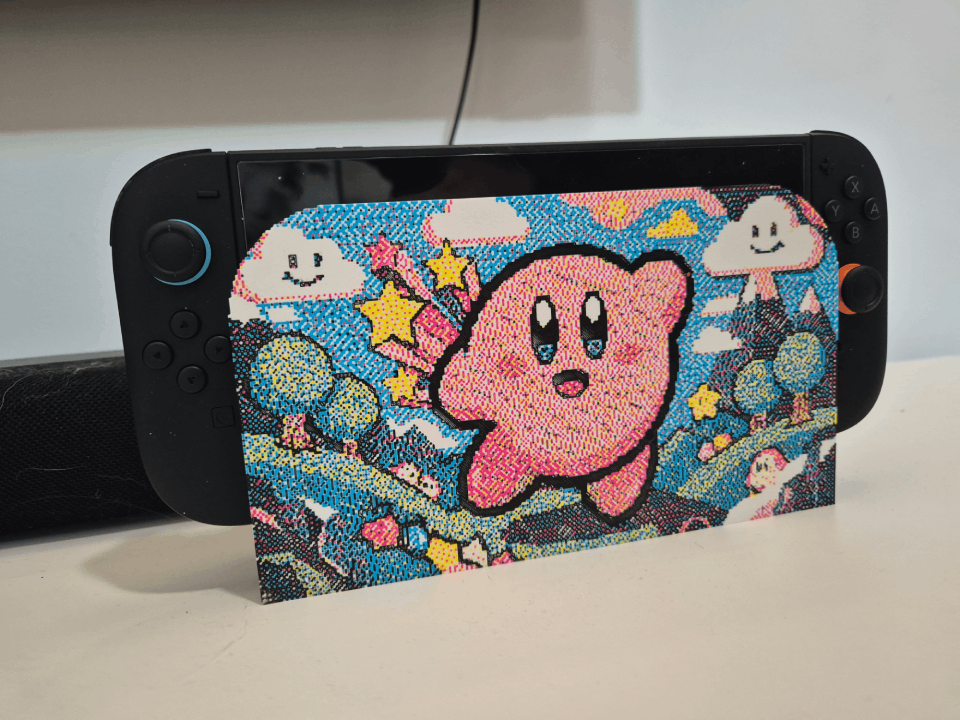
Your design is printed in high-definition UV directly onto a 3D-printed base, then sealed under varnish. True-to-life colors, gradients and fine detail: here is how it works.
- #UV printing
- #Switch 2 cover
- #varnish
- #manufacturing
- #3D printing
Why UV printing?
A cover for the Switch 2 dock is something you see every day, sitting at the center of your living room. Its look has to do justice to your design: true-to-life colors, clean gradients and fine detail. That is exactly what high-definition UV printing delivers.
The principle is close to a photo-quality paper printer, but applied directly to a rigid object. The inks are cured instantly by ultraviolet light, which locks every dot in place. There is no color limit: a starry sky, a portrait or a vividly colored illustration all print with the same precision.
Step 1 — the 3D-printed base
Every cover starts with a 3D-printed base in white PLA. The white is no accident: it is the best possible backdrop for the inks to render vivid, luminous colors.
The plate is made to the exact dimensions of the dock face and includes its magnets. It sits on the base clipped to the dock with no play, and comes off in a second when you want to swap designs.
Step 2 — high-definition UV printing
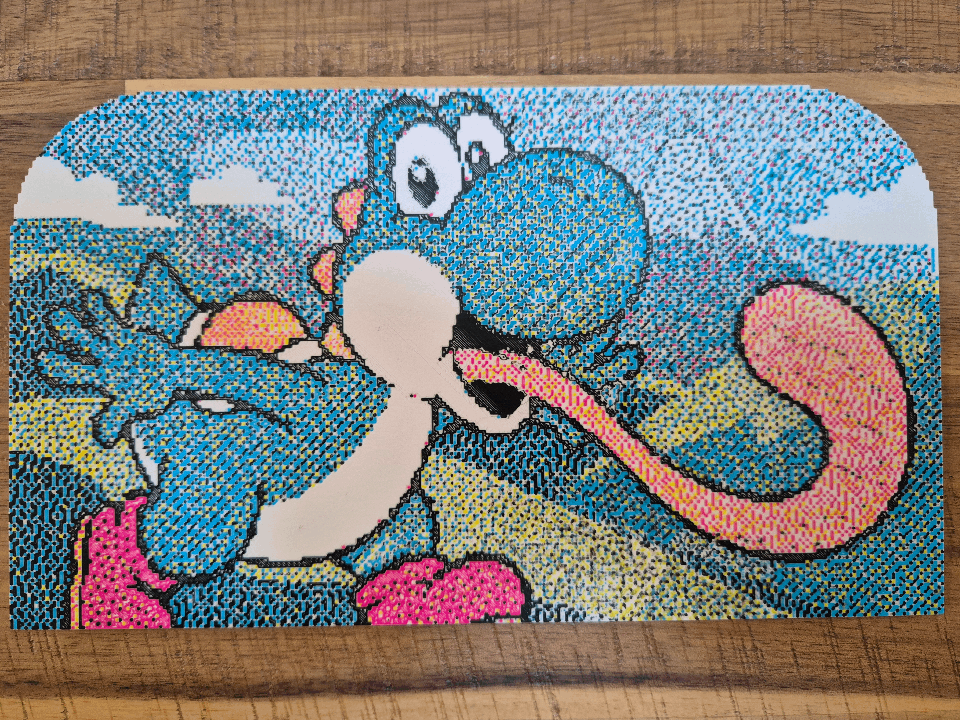
The plate then goes into a UV printer. It lays down four-color inks (cyan, magenta, yellow, black) at a resolution of about 720 dpi, with dots too fine to be seen by the naked eye. The UV light dries the ink instantly, so nothing runs and edges stay sharp.
Printing is edge to edge, with bleed: the artwork extends slightly beyond the visible area, so there is no white border along the sides of the plate.
Step 3 — the protective varnish
Last step: a protective varnish is applied over the whole printed surface. It seals the inks and makes the cover resistant to everyday scratches: rubbing, handling, and the occasional dusting.
Since the plate is rarely handled once in place, a well-stored cover keeps its look for years.
Preparing a design that looks great
- Pick a 16:9 image. That is the plate format, so there are no unexpected crops.
- Aim for at least 2400 px wide. A smaller image can still be printed, but fine details will be less sharp.
- Avoid very thin text near the edges. The artwork is printed right to the edge of the plate, so keep a margin around anything important.
- Mind the contrast. A well-exposed image with readable areas always prints better than a dull one.
Try it for real
The KoverSmith Studio lets you generate or upload a design, then see a faithful preview of the cover before you order.
To see where this fits in the finished product, read our complete guide to custom Switch 2 covers.
FAQ
Frequently asked questions
Are the colors true to my design?
Does the cover resist scratches?
Can I upload my own image?
Take action
Design your custom Switch 2 cover now
Describe your idea, our AI generates the artwork and we print it in high-definition UV on your Switch 2 cover. €9 per cover, €14 for the magnetic base.
Open the StudioRead next
Guides
Custom Switch 2 cover: the complete guide to customizing your TV dock (2026)
Your Switch 2 TV dock sits plugged into your living room 24/7 — it's the most visible piece of your gaming setup. Here's how to dress it with magnetic custom plates, with no skin, no glue, and the freedom to swap designs in a second.
Comparisons
Magnetic plate vs vinyl skin vs hard shell: which is right for your Switch 2 dock?
Three families of options to dress the Switch 2 TV dock. We compare cost over time, modularity, print quality and impact on the device.